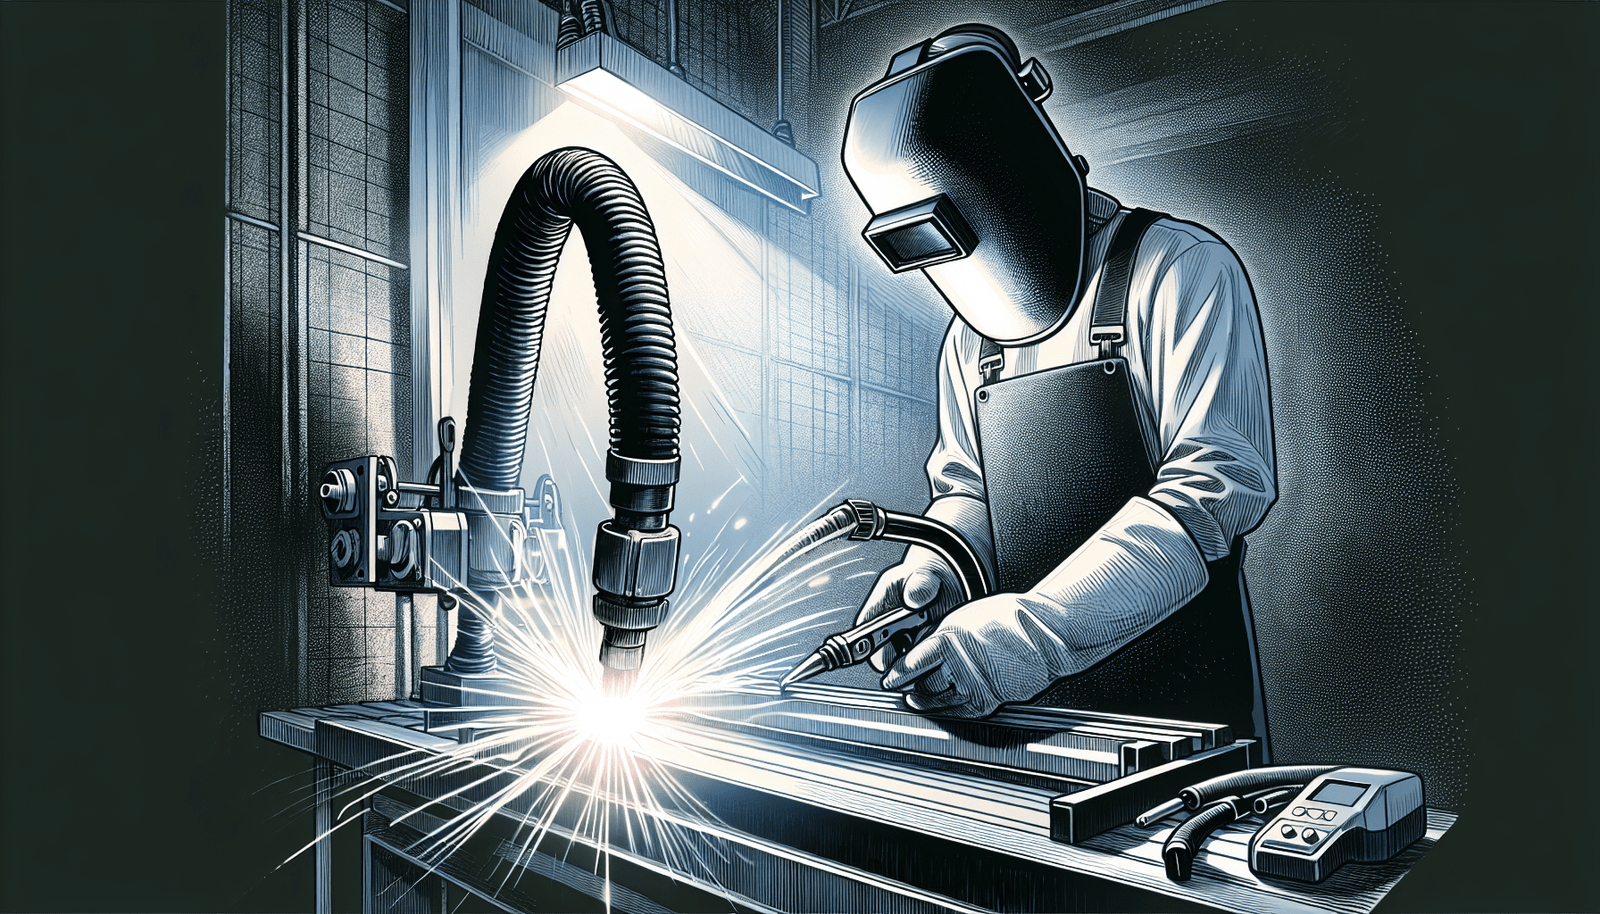
If you’re a welder, you know the importance of having a well-maintained welding helmet. Not only does it protect your eyes and face from sparks and debris, but it also ensures clear visibility for a safer and more efficient work experience. In this article, we will guide you on how to properly clean and maintain your welding helmet to extend its lifespan and keep it in top-notch condition. From removing dirt and grime to checking the various components, these simple steps will help you get the most out of your welding helmet and ensure optimal performance every time you put it on. Let’s dive in and discover the key to a clean and well-maintained welding helmet!
Understanding Your Welding Helmet
Importance of a welding helmet
A welding helmet is an essential piece of protective equipment for anyone involved in welding. It serves the crucial purpose of shielding your face, eyes, and neck from sparks, heat, and harmful radiation that is emitted during the welding process. By wearing a welding helmet, you significantly reduce the risk of eye injuries, burns, and long-term damage to your vision.
Components of a welding helmet
A welding helmet consists of several key components that work together to provide optimal protection. These include:
Shell: The outer part of the helmet, usually made of durable and heat-resistant material such as fiberglass, polycarbonate, or nylon.
Lens: The lens is an important component that protects your eyes from the intense brightness generated during welding. There are two main types of lenses: passive and auto-darkening. Passive lenses have a fixed shade, while auto-darkening lenses automatically adjust to different welding conditions.
Headgear: The headgear system allows you to securely attach the helmet to your head. It typically includes an adjustable strap, headband, and cushioning for comfort.
Filter assembly: This component houses the lens and controls its shade. In auto-darkening helmets, it includes sensors that detect the initiation of welding and adjust the shade accordingly.
External controls: Some helmets feature external controls for adjusting the lens shade, sensitivity, and delay settings. These controls allow you to customize your viewing experience based on the specific welding application.
Different types of welding helmets
There are various types of welding helmets available on the market, each catering to different welding techniques and needs. Some common types include:
Traditional Welding Helmet: This type of helmet features a fixed shade lens that remains dark throughout the welding process. It is cost-effective and suitable for basic welding applications.
Auto-Darkening Welding Helmet: Auto-darkening helmets have an adjustable lens shade that automatically darkens within milliseconds of starting the welding arc. They provide better visibility and comfort, allowing you to easily switch between welding and inspecting the work without removing the helmet.
Welding Helmets with Respiratory Protection: These helmets include an integrated respirator system, providing both eye and respiratory protection. They are commonly used in environments where fumes or airborne contaminants may be present.
Powered Air Purifying Respirator (PAPR) Helmets: PAPR helmets use a battery-powered fan to deliver a continuous flow of clean air to the user. They offer optimal respiratory protection while also shielding the face and eyes.
Welding Helmets with Grind Mode: Grind mode helmets have a special mode that allows for clear vision when grinding or performing non-welding tasks. They eliminate the need to switch to a separate grinding mask, increasing convenience and efficiency.
Understanding the different types of welding helmets will help you choose the most suitable one for your specific welding needs and working environment.
Frequency of Cleaning
Identifying signs when the helmet needs cleaning
Regular cleaning of your welding helmet is crucial to ensure its functionality and longevity. Here are some signs that indicate it’s time to clean your helmet:
Accumulated dirt and debris: If you notice a buildup of dust, welding spatter, or other debris on the exterior or interior of the helmet, it’s a clear indication that cleaning is necessary.
Decreased visibility: If your helmet’s lens appears cloudy, smudged, or scratched, it can impede your vision and compromise safety. Cleaning the lens will restore its clarity and visibility.
Odor or residue: If you detect an unpleasant odor or sticky residue inside your helmet, it may indicate sweat or oil buildup. Cleaning is necessary to maintain hygiene and prevent discomfort.
Malfunctioning controls or sensors: If the external controls or sensors on your helmet are not functioning properly, it may be due to dirt or debris obstructing their operation. Cleaning can often resolve these issues.
Routine cleaning vs heavy-duty cleaning
Routine cleaning should be performed regularly, ideally after each use, to remove surface dirt and maintain the overall cleanliness of the helmet. This involves wiping down the exterior of the helmet with a damp cloth and cleaning the lens using a lens cleaning solution.
However, heavy-duty cleaning may be required periodically, especially if there is stubborn dirt, grease, or grime on the helmet. Heavy-duty cleaning involves disassembling the helmet and cleaning each component thoroughly. This may be done on a monthly or quarterly basis, depending on frequency of use and environmental conditions.
Neglecting regular cleaning can lead to a compromised viewing experience, decreased visibility, and potential hazards. It is essential to prioritize proper cleaning and maintenance to ensure your welding helmet remains in excellent working condition.
Materials and Tools for Cleaning
Identifying safe cleaning materials
When cleaning your welding helmet, it is important to use safe and appropriate materials to avoid damaging the helmet or its components. Here are some recommended cleaning materials:
Mild soap or detergent: A mild soap or detergent solution can be used to clean the exterior of the helmet. Avoid using harsh chemicals or solvents that may damage the helmet’s finish or materials.
Lens cleaning solution: A designated lens cleaning solution is recommended for cleaning the lens. Avoid using household glass cleaners or other abrasive solutions that can scratch or degrade the lens.
Soft, lint-free cloth: Use a soft cloth, such as a microfiber or cotton cloth, to wipe down the exterior of the helmet and remove dirt and debris. Avoid using rough or abrasive materials that can scratch the helmet’s surface.
Choosing the right cleaning tools
In addition to the cleaning materials mentioned above, you may need some specific tools to aid in the cleaning process. These tools include:
Soft-bristle brush: A soft-bristle brush can be used to gently remove dirt and debris from hard-to-reach areas of the helmet, such as ventilation holes or crevices.
Compressed air: Compressed air can be used to blow away loose debris from the helmet. This is particularly useful in areas where a brush or cloth cannot reach.
Q-tips or cotton swabs: Q-tips or cotton swabs can be helpful for cleaning small and intricate parts of the helmet, such as the lens housing or controls.
Avoiding harsh chemicals or abrasive materials
When cleaning your welding helmet, it is crucial to avoid using harsh chemicals, abrasive materials, or rough scrubbing techniques. These can damage the helmet’s finish, lens, or other components. Always refer to the manufacturer’s guidelines and recommendations for cleaning to ensure you’re using safe and appropriate methods.
Disassembling the Helmet
Reading the manual for specific disassembly instructions
Before disassembling your welding helmet, it is important to carefully read the manufacturer’s manual for specific instructions and guidelines. Different helmets may have unique mechanisms or components that require specific disassembly techniques. Following the manual will help ensure a safe and successful disassembly process.
Safely removing the lens and other components
Once you have familiarized yourself with the manufacturer’s instructions, you can proceed with safely removing the lens and other components. This typically involves:
Opening the filter assembly: Depending on your helmet model, you may need to remove screws, slide the lens housing, or release latches to open the filter assembly and access the lens.
Removing the lens: Carefully take out the lens from its housing, making sure not to touch the lens surface. Hold it by the edges or designated tabs to avoid leaving fingerprints or smudges.
Detaching other components: If necessary, remove any removable parts such as the headband, padding, or external controls. Follow the manufacturer’s instructions for each specific component.
Organizing removed parts
As you disassemble your welding helmet, it is essential to keep the removed parts organized to avoid misplacement or confusion during the cleaning process. Consider using a tray or container with compartments to keep all the components in one place. This will also make reassembly easier and more efficient.
Cleaning the Exterior of the Helmet
Wiping with a damp cloth
To clean the exterior of the helmet, start by wiping it down with a damp cloth. Dip a soft cloth into a mild soap or detergent solution, wring out any excess liquid, and gently wipe the shell, straps, and other external areas of the helmet. Pay attention to areas that may have accumulated dirt, spatter, or grime.
Avoid using excessive water or soaking the helmet, as this can damage the internal components, padding, or electrical systems.
Cleaning hard-to-reach areas
Use a soft-bristle brush or a cotton swab to clean hard-to-reach areas of the helmet, such as ventilation holes, crevices, or around the lens housing. Gently brush or wipe away any dirt or debris, ensuring not to apply excessive force that may cause damage.
Compressed air can also be used to remove loose debris from hard-to-reach areas, providing an effective and non-invasive cleaning method.
Proper drying techniques
After cleaning the exterior of the helmet, it is important to ensure thorough drying before reassembly. Wipe off any excess moisture with a clean, dry cloth. You can also leave the helmet in a well-ventilated area to air dry naturally. Avoid exposing the helmet to direct sunlight or heat sources, as this can cause damage or deformation to the materials.
Proper drying techniques will prevent the growth of mold, mildew, or bacteria inside the helmet and help maintain its integrity.
Cleaning the Interior of the Helmet
Cleaning the headband
The headband is an essential part of the welding helmet that comes into direct contact with your skin. To clean the headband:
Remove any removable padding or cushioning components as per the manufacturer’s instructions.
Prepare a mild soap or detergent solution and dip a clean cloth into it.
Gently wipe down the headband, ensuring to remove any sweat, oil, or dirt buildup.
If the headband is heavily soiled, you may need to soak it in the soap solution for a few minutes before wiping it clean.
Rinse the headband with clean water and gently squeeze out any excess moisture.
Allow the headband to air dry completely before reattaching it to the helmet.
Dealing with sweat and oil stains
Sweat and oil stains are common issues with welding helmets, especially for those who wear them for extended periods. To remove sweat and oil stains from the interior of the helmet:
Apply a small amount of mild soap or detergent directly to the stained areas.
Gently scrub the stains using a soft cloth or brush.
Rinse the interior of the helmet with clean water, ensuring to remove any soap residue.
Wipe off any excess moisture using a clean, dry cloth.
Leave the helmet in a well-ventilated area to air dry completely before reassembly.
Drying the interior
Properly drying the interior of your welding helmet is crucial to prevent the growth of mold, mildew, or unpleasant odors. After cleaning, ensure that all components are thoroughly dried before reassembling the helmet. Allow the helmet to air dry in a well-ventilated area, away from direct sunlight or heat sources.
Taking the time to clean the interior of your welding helmet will not only improve comfort but also enhance hygiene, ensuring a safe and enjoyable welding experience.
Cleaning the Lens
Handling the lens carefully
The lens is one of the most crucial components of your welding helmet, and it requires delicate handling. When cleaning the lens:
Avoid touching the lens surface with your fingers, as the oils from your skin can leave smudges or affect the lens coating.
Hold the lens by the edges or designated tabs to minimize the risk of leaving fingerprints or scratches.
If there is dirt or debris on the lens, gently blow it away using compressed air or use a soft brush to remove it.
Never use abrasive materials, rough scrubbing techniques, or sharp objects that can scratch or damage the lens.
Using lens cleaning solution
To clean the lens effectively, use a designated lens cleaning solution that is specifically formulated for welding helmet lenses. Follow these steps:
Apply a few drops of the lens cleaning solution to a soft, lint-free cloth or lens cleaning tissue. Avoid applying the solution directly to the lens to prevent oversaturation.
Gently wipe the lens in a circular motion, starting from the center and moving towards the edges.
If there are stubborn stains or residue, repeat the process using a fresh portion of the cloth or tissue and additional cleaning solution if necessary.
Allow the lens to air dry or gently pat it dry with a clean, lint-free cloth before reassembly.
Preventing scratches on the lens
To prevent scratches on your welding helmet lens and maintain its optical clarity, it is important to take precautions during cleaning and daily use. Follow these tips:
Always store your welding helmet in a dedicated bag, case, or protective cover to prevent contact with other objects that can scratch the lens.
Avoid placing your helmet on rough or abrasive surfaces when not in use.
Handle the lens with care, using clean, dry hands or gloves.
Regularly inspect the lens for any scratches or signs of wear. If you notice significant scratches or damage, replace the lens promptly to ensure optimal visibility and protection.
Taking proper care of the lens will help prolong its lifespan and ensure clear, unobstructed vision during welding.
Reassembling the Helmet
Checking all components before reassembly
Before reassembling your welding helmet, take a moment to inspect all the cleaned components for any signs of damage or wear. Check the lens for scratches, cracks, or defects. Ensure that the headband, padding, and straps are clean and in good condition. Verify that any removable parts, such as additional lenses or controls, are in proper working order.
If you notice any issues or concerns, consider replacing the damaged or worn-out components before proceeding with reassembly.
Following the manual for reassembly
Each welding helmet may have specific reassembly instructions provided by the manufacturer. Referring to the manual is crucial to ensure the correct sequence and placement of components. Follow these general steps:
Start by reattaching any removable parts, such as the headband, padding, or controls, as per the manufacturer’s instructions.
Carefully place the lens back into its housing, ensuring it is properly aligned and seated. Follow any specific instructions regarding attachment mechanisms or securing mechanisms.
Close the filter assembly, ensuring that all latches, screws, or fasteners are securely tightened.
Double-check all connections and fittings to ensure they are secure and properly aligned.
Ensuring secure attachment of all parts
Upon completing the reassembly process, it is crucial to ensure that all parts of the welding helmet are securely attached. Gently test the stability and positioning of the headband, padding, and straps. Verify that the lens is securely held in place and that the filter assembly is properly closed and latched.
Properly securing all parts of the welding helmet will ensure optimal safety and functionality during welding operations.
Maintaining the Welding Helmet
Regular inspection for damages
To maintain the overall performance and longevity of your welding helmet, it is important to regularly inspect it for any damages or signs of wear. Perform the following inspections:
Visually inspect the shell for cracks, dents, or any structural damage that may compromise its protective capabilities.
Check the lens for scratches, cracks, or defects that can hinder visibility or protection. Promptly replace the lens if any significant damage is detected.
Inspect the headgear for signs of wear, such as frayed straps or deteriorated padding. Replace any worn-out components to ensure comfort and proper fit.
Test the functionality of the external controls or sensors, making sure they respond correctly to adjustments. Replace any malfunctioning controls or sensors as needed.
Replacing broken or worn-out parts
Regardless of how well you maintain your welding helmet, certain components may eventually require replacement due to wear and tear. Replace broken or worn-out parts promptly to ensure optimal safety and functionality. Contact the manufacturer or an authorized dealer for genuine replacement parts that are compatible with your specific helmet model.
Spend some time familiarizing yourself with the available replacement parts and their installation processes. Often, manufacturers provide detailed instructions or video tutorials for replacing common components such as the lens, headband, or padding.
Maintaining the battery for auto-darkening helmets
If you use an auto-darkening welding helmet, it is crucial to properly maintain the battery to ensure reliable operation. Follow these guidelines:
Regularly check the battery level indicator, if available, to ensure the battery has sufficient charge.
If the battery is replaceable, follow the manufacturer’s instructions for proper battery replacement. Use high-quality batteries recommended by the manufacturer to ensure optimal performance.
Store the helmet in a cool and dry environment when not in use to extend the battery life.
If the helmet has a solar-powered backup, ensure that the solar panel is clean and free from obstructions. Regularly inspect the solar panel for any damage or discoloration.
Properly maintaining the battery of your auto-darkening welding helmet will ensure consistent and reliable performance, minimizing the risk of unexpected disruption during welding operations.
Storing the Welding Helmet
Choosing a safe storage location
When your welding helmet is not in use, it is important to store it in a safe location to protect it from damage. Consider the following factors when choosing a storage location:
Dryness: Choose a storage area that is dry and free from excessive humidity to prevent moisture-related damage or the growth of mold or mildew.
Temperature: Avoid storing the helmet in areas that are exposed to extreme temperatures, such as direct sunlight or near heat sources. Extreme heat or cold can cause deformation or damage to the helmet materials.
Protection from impact: Store the helmet in a dedicated bag, case, or protective cover to prevent accidental impact or contact with other objects that can scratch or damage the helmet.
Accessibility: Keep the helmet in a location that is easily accessible when needed, ensuring it is readily available for use.
Protecting the helmet from harsh conditions
If you work in environments where your welding helmet may be exposed to harsh conditions, such as excessive dust, moisture, or chemical fumes, take extra precautions to protect it. Consider using additional protective covers or bags that provide an extra layer of defense against external elements.
For long-term storage or when transporting the helmet to different locations, ensure it is properly secured and protected to prevent any damage or deformation.
Regular cleaning before storing
Before storing your welding helmet for an extended period, it is important to perform a thorough cleaning to remove any accumulated dirt, debris, or sweat. Follow the cleaning guidelines mentioned earlier in this article to ensure the helmet is in optimal condition when you retrieve it for future use.
Regularly cleaning your helmet before storing it will help prevent the buildup of dirt, grime, or unpleasant odors, ensuring that it remains clean and ready for use whenever you need it.
In conclusion, taking the time to understand your welding helmet and properly cleaning and maintaining it is essential for your safety, comfort, and overall welding experience. By following the guidelines outlined in this article, you can ensure that your welding helmet remains in excellent condition, providing the necessary protection and clear vision required for safe and successful welding operations.
